Featured Products
INTRODUCTION
If you are a science teacher, I am sure you can remember some of the first times you were wowed or amazed by what you learned or experienced in a science class. The first time the subject came alive to you in a new way. For me, it happened in Mr. Militzer’s physics class during my junior year of high school. Mr. Militzer had constructed an elaborate setup to test our knowledge about energy conservation and two-dimensional motion. A ball was attached to some sort of pendulum and pulled back to a certain height. When released, the ball would swing. At the bottom of the swing, the ball would be released from the pendulum, turning it into a projectile. Our task was to predict where the ball would land on the classroom floor and place a cup to catch it at that location. I don’t remember struggling to come up with a predicted location, but I do remember being amazed that the ball actually landed at the location we predicted. It was the first time I experienced the predictive power of physics, to see proof that the concepts and equations we had discussed and practiced in class accurately describe reality.
Now that I am a physics teacher, I want to give my students the same type of experience, where they can use the concepts and equations discussed in class to solve complex or novel problems, to experience the predictive power of physics for themselves. In this video I want to walk you through an investigation for students to learn about projectile motion and several different lab challenges you could do with your students related to projectile motion.These lab challenges would be appropriate for high school and introductory college students.
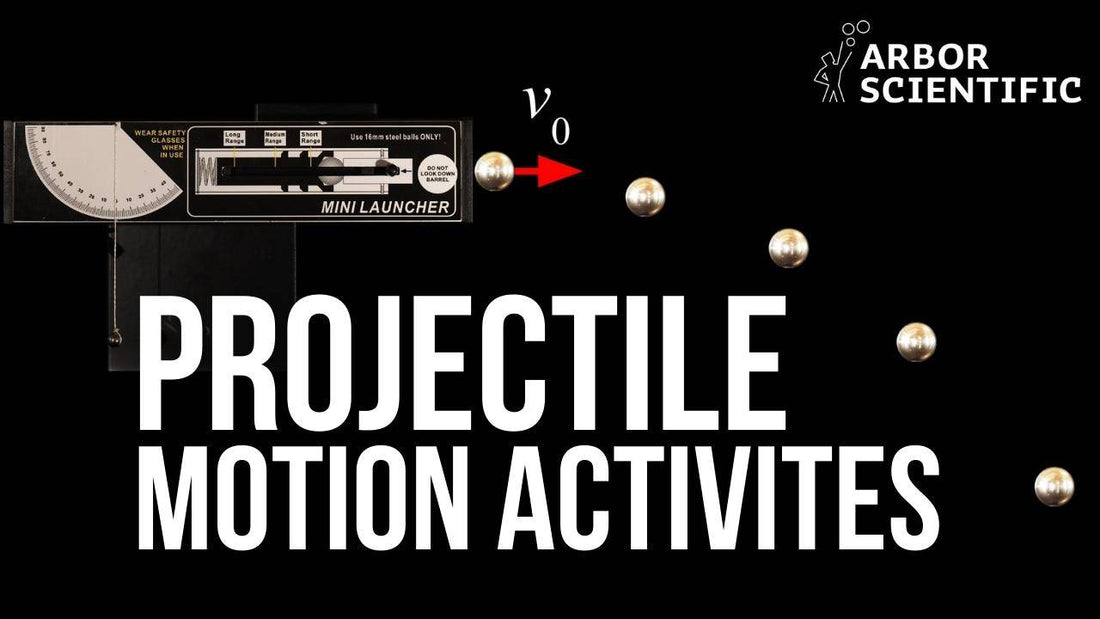
For any lab challenge, you want students to have a fair chance at being successful. A fair chance at success means choosing the right challenge and using the right equipment. For any lab challenge related to projectiles, this means having an apparatus that can launch an object with a consistent velocity each time, and having a projectile that experiences minimal air friction. Arbor Scientific has a great affordable option to do just that, called the Mini Projectile Launcher. This launcher can shoot a small metal sphere at many different angles, has an integrated protractor, and can launch the metal sphere at three different speeds. This Mini Projectile Launcher is an improved version. Arbor Scientific includes a precisely machined metal cup that holds the ball on the plunger for better accuracy and consistency.
PROJECTILE INVESTIGATION
Before we get to the lab challenges using the Mini Projectile Launcher, I would like to introduce you to an investigation you can do with your students to begin a unit on projectile motion. Before any type of lab challenge involving projectiles, students need to understand how they can describe the motion of objects launched into the air, both qualitatively and quantitatively. I have created three different videos using the Mini Projectile Launcher that students can use to collect data about the motion of the launched projectile as it moves through the air.
Projectile Investigation Video #1 (Slow Speed): https://youtu.be/5tYd96TZOwE
Projectile Investigation Video #2 (Medium Speed): https://youtu.be/YiEOW9Ew5BU
Projectile Investigation Video #3 (Fast Speed): https://youtu.be/pJj9IUadjJs
Before getting into the data collection videos, it is helpful to start with a conversation about how any two-dimensional motion can be broken up into its one-dimensional components. While the ball is moving in two-dimensions through the air, we can talk about how the ball moves horizontally separately from how the ball moves vertically through the air.
Tell your students to imagine viewing a ball rolling off of a table from three different perspectives. The picture, as shown above, is the side of view of the event giving a good view of how the ball would be moving through the air in both the horizontal and vertical directions. Now have your students imagine viewing the same event from above the table, looking down. From this perspective the horizontal part of the motion would be the most prominent. You could tell the ball was falling, because the ball would appear smaller over time, but you would mostly perceive how the ball continues to move forward through space. If you instead chose to view the event from in front of the table, where the ball was launched in your direction, the vertical part of the motion would be the most prominent. It would be easiest to perceive the ball falling down in the y-direction, rather than how it is also moving forward in the x-direction.
Each of the three videos has the small steel ball launched from the Mini Projectile Launcher onto a level table. The ball slides and rolls across a short length of the table and is horizontally launched into the air. Using one of the linked videos above, walk your students through a procedure to collect data to learn about the horizontal and vertical parts of the ball’s motion. Give each lab group one of the three videos to analyze that have balls launched at different speeds. Discuss how the video can be paused at different times to collect the launched ball's horizontal and vertical positions both on and off the table. This data will be used to investigate the horizontal and vertical parts of the ball's motion as it flies through the air.
Measuring Horizontal Position Data:
Measuring Vertical Position Data:
At this point in a physics class, students should be good at making qualitative and quantitative conclusions about how objects move based on how their position changes over time. These skills can be used here to learn something about how a projectile behaves as it flies through the air. Have the students use their collected data to create an x-position versus time graph and a y-position versus time graph for the ball while it was moving both on and off the table. Even though we're trying to understand how the ball moves through the air, the comparison of how the ball moves on the level table and how the ball moves off the table, will be helpful during the conclusion discussion.
Have each lab group create a whiteboard with their data tables, position versus time graphs for the x and y directions, and force diagrams for the ball both on and off the table. Depending on the sequence of topics you cover in class, students may not already have been exposed to forces and force diagrams, so these can be left off. However, a discussion of the forces experienced by the ball can really help students understand why the ball moves in the ways shown by their position versus time graphs. Have the students label which range setting was used to launch the ball in their assigned video, and add a vertical line on their graphs showing the approximate time the ball left the table.
Tell the students to add estimates of the velocities for each section of the x-position versus time graph both on and off the table. The students should be ready to discuss what the shape of each graph suggests about how the ball moves horizontally and vertically while it is moving on the table and moving off the table.
Have students circle up with their whiteboards to reach some consensus about how to describe the horizontal and vertical parts of the ball’s motion. It’s helpful to start with having students focus on the horizontal part of the motion. Ask groups to share how they would describe the ball’s horizontal motion, referring back to their horizontal position versus time graph for evidence. Since the horizontal position versus time graphs are linear, students will quickly realize that the ball moves at a near constant horizontal velocity for the entire time of analysis. Each group will have a different constant speed based on the video they were given to analyze.
If you had students include force diagrams on their whiteboards, ask students how the forces they included help explain why the horizontal part of the velocity was nearly constant both on the table and off the table. Students will often question whether to include a frictional force acting on the ball by the table. To help them answer that question, point them back to their horizontal position versus time graph. If the ball’s velocity is constant and there is no force pushing or pulling the ball in the direction it's moving, then any frictional forces on the ball must be insignificant. If friction was significant, the ball’s speed would be decreasing. This also suggests that any frictional forces on the ball from the air, while it is off the table, must also be insignificant.
After further discussion the class should reach a consensus that while on the table, the ball only experiences the gravitational force pulling down, and the normal force pushing up. These two forces are balanced, and the sum of the forces on the ball is zero, since the ball has no significant acceleration. The class should reach a consensus that while off the table, the ball only experiences the gravitational force pulling down. In both cases, the ball experiences no significant horizontal forces, so the ball shouldn't experience a change in its horizontal velocity.
When students discuss the vertical part of the ball’s motion, they should come to the consensus that, while on the table, the ball has zero vertical velocity, but increases in speed while moving off the table. The students should always refer back to the shape of their y-position versus time graph when stating how they think the ball is moving vertically. Ask students how the forces they included in the force diagrams help explain the vertical part of the ball’s motion both on and off the table. While the ball is moving on the table, the downward gravitational force is balanced by the upward normal force, keeping the zero vertical velocity unchanged. When the ball leaves the table, the normal force of the table pushing up on the ball is no longer present. In the air, the downward gravitational force causes the ball to have a negative acceleration.
In order to estimate the value of the negative vertical acceleration of the ball, you could either have students use their y-position values and the kinematic equations to determine an average acceleration, or you could have students use graphical analysis software like Logger Pro, to make a quantitative y-velocity versus time graph. The slope of the graph would be the ball’s average vertical acceleration. Using these methods results in values between -9 and -11 m/s2. Regardless of the different horizontal speeds, students should recognize these vertical accelerations are close to the accepted free fall acceleration of -9.8 m/s2. This is the acceleration of an object, dropped from rest, freely falling with negligible air resistance. This suggests that the vertical part of a projectile’s motion is identical to an object dropped from rest.
Determining Average Vertical Acceleration with Kinematics:
Determining Average Vertical Acceleration with Graphical Analysis using Logger Pro:
To compare the vertical motion of a horizontally launched object and an object dropped from rest, show students the video linked below of a steel ball released from rest at the same moment another steel ball rolls off a level table. Here students can see that the launched ball moves vertically just like the dropped object. This should confirm that the vertical part of a projectile's motion is identical to the vertical motion of a freely falling object. The acceleration in the y-direction is a constant -9.8m/s2 or approximately -10 m/s2.
YouTube Video: “Shot VS Drop (Physics of Projectile Motion)” → https://youtu.be/I1srkpFhjxI
Now you can put all the pieces together. While an object is moving in two-dimensions through the air, it moves with a constant horizontal speed and a constant negative vertical acceleration. Projectile motion is just a combination of a constant velocity problem and a uniform acceleration problem. Once students have this foundational understanding, they are ready to jump into a discussion of specific traditional projectile problems including projectiles launched at an angle.
PROJECTILE LAB CHALLENGES
Once students are familiar with solving standard projectile problems, they are ready for a challenge. Can students use the concepts and equations discussed in class to predict where a launched object will land? Give them an opportunity to test their skills in reality.
I like to talk about projectile motion in the context of stunt design or extreme sports. If a stunt professional is jumping off of a building they need to know how far away from the building they will land. The middle of an airbag or something to break their fall should be placed at that location. When someone is constructing a landing ramp for mountain bikers racing through a downhill course, the course designer needs to know how far away from the launch ramp the landing ramp should be placed.
Use several Mini Projectile Launchers to set up different stunt design challenges for students to solve. For each challenge I would set up the launchers at different launch speeds, different heights, or different angles so each lab group will have a unique solution. For each lab challenge students will need to determine what should be measured so they can calculate where the projectile will land. Once they work out a solution as a group, they can then test to see how close their estimate is to reality.
One stunt design challenge could model a stunt professional running off of a rooftop onto an airbag below. Here the Mini Projectile Launcher would launch a projectile horizontally from a lab table or desk to the ground below. For this challenge I like to use a little foam pit to catch the steel ball. A second or third stunt design challenge could model a mountain biker launching off an upward angled or downward angled ramp to a landing ramp below. For these challenges I like to use a small landing ramp constructed from cardboard to place at the predicted ball’s landing location.
For any of these lab challenges students will need to know the initial launch velocity from the Mini Projectile Launcher. To get the launch velocities, students can simply refer back to the data or videos used for their initial investigation into projectile motion mentioned earlier in this video. To calculate the initial launch velocity students could also do a simple experiment where they fire the mini projectile launcher straight up. The students can use the measurement of the ball’s maximum height above the launcher to calculate the ball’s initial launch velocity.
These design challenges are always engaging for my students. Like my high school experience, my students are often amazed and more than a little relieved when they are successful at predicting where the ball actually lands. Lab challenges, like these, help students experience the predictive power of physics, to see proof that the concepts and equations they discuss and practice in class accurately describe reality.
Happy investigating!
Aaron Debbink
Aaron Debbink
Physics Instructor
Indian Hill High School
Cincinnati, OH
Aaron Debbink is a physics teacher with 16 years of classroom experience who has an undergraduate engineering degree and a masters degree in physics. He is passionate about building a classroom culture that values exploration and a drive for understanding. Aaron uses Modeling Instruction in his introductory and AP physics classes and has been a Modeling Instruction workshop leader since 2011. Aaron is a Knowles Teaching Fellow and the recipient of a 2019 Yale Educator Award.


